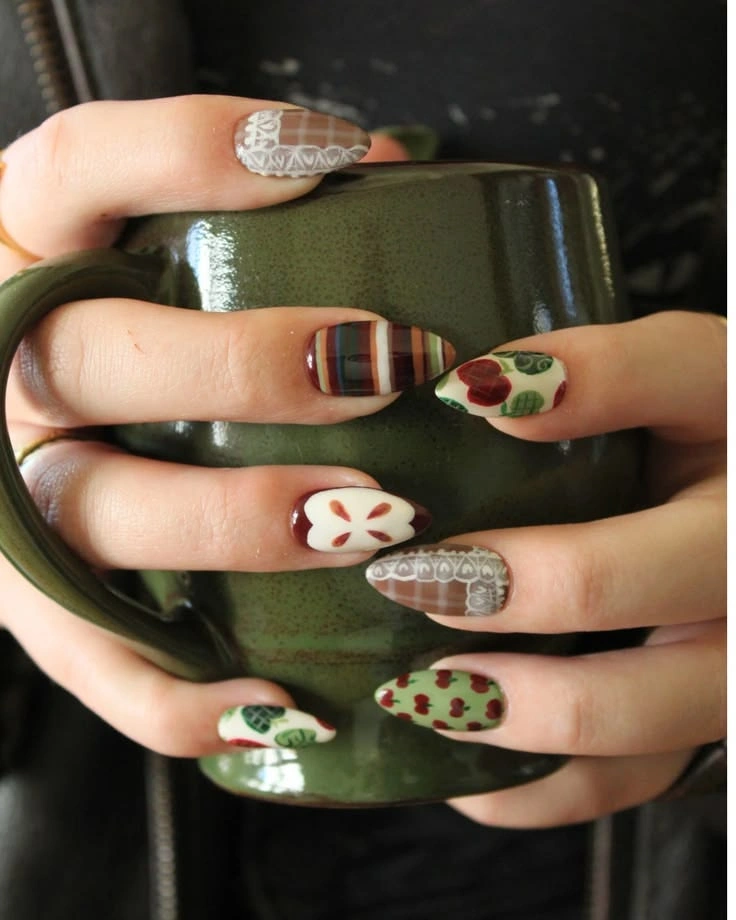
Have you ever seen those gorgeous nail designs on Pinterest and wondered how people create such perfect little flowers, hearts, and patterns? If you’ve tried painting them yourself, you probably know how tricky it can be, especially when you’re using your non-dominant hand.
But here’s some good news! You don’t need to be a professional nail artist to create beautiful nails.
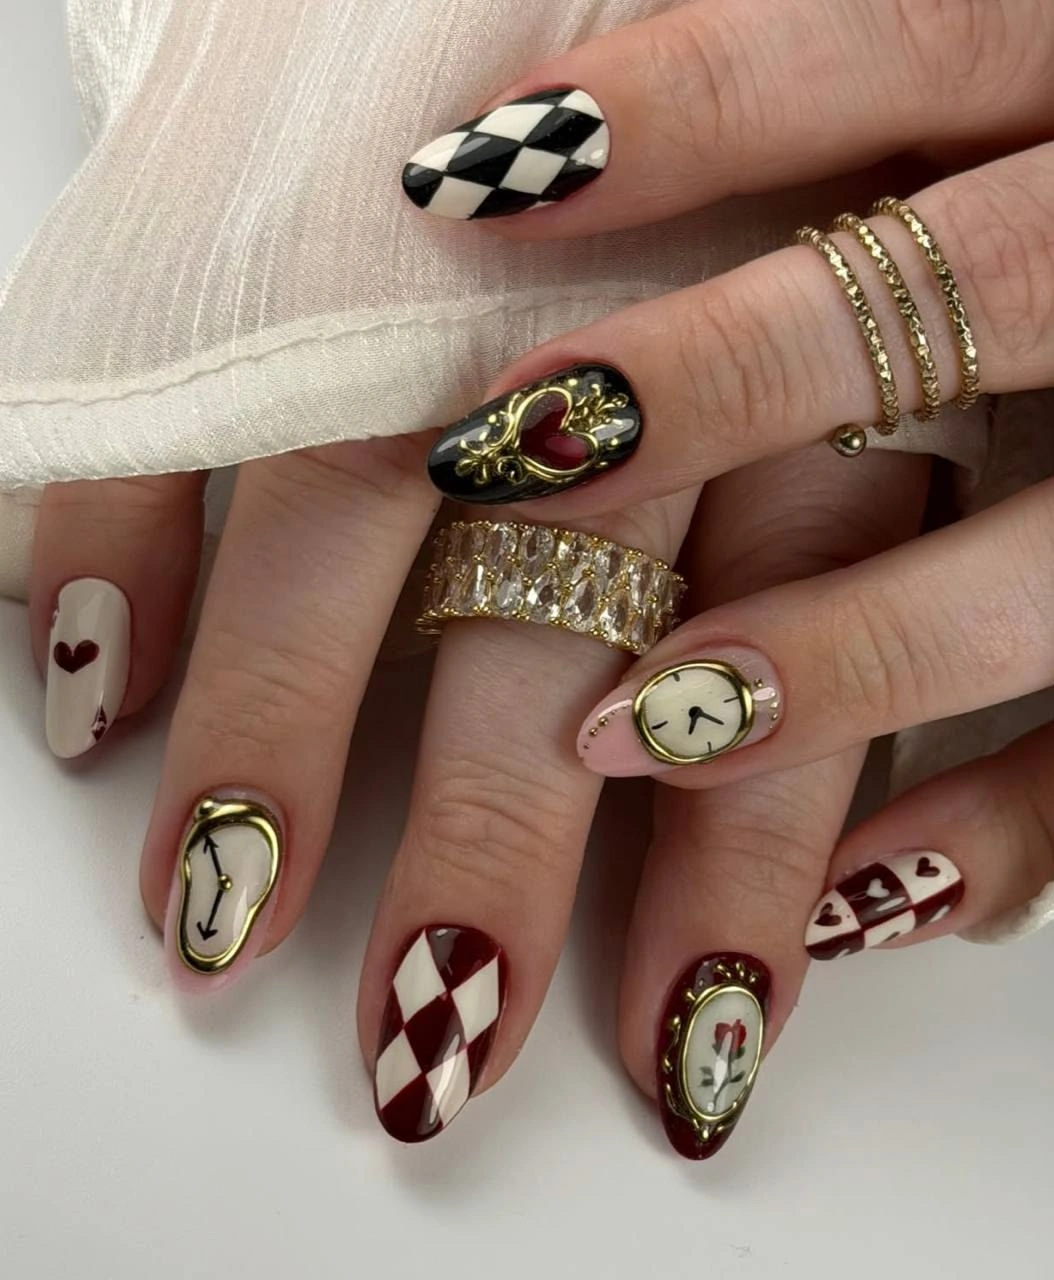
Stamping nail art is one of the easiest ways to achieve detailed, salon-inspired nail designs at home. Whether you love soft floral patterns, cute little hearts, or modern geometric prints, nail stamping makes decorating your nails much simpler.
The best part? You don’t need expensive salon appointments or advanced painting skills. With a few basic tools, some patience, and a little creativity, you can turn an ordinary manicure into something special.
Let’s explore everything you need to know about nail stamping, including how to get started, beginner-friendly designs, and tips for achieving beautiful results.
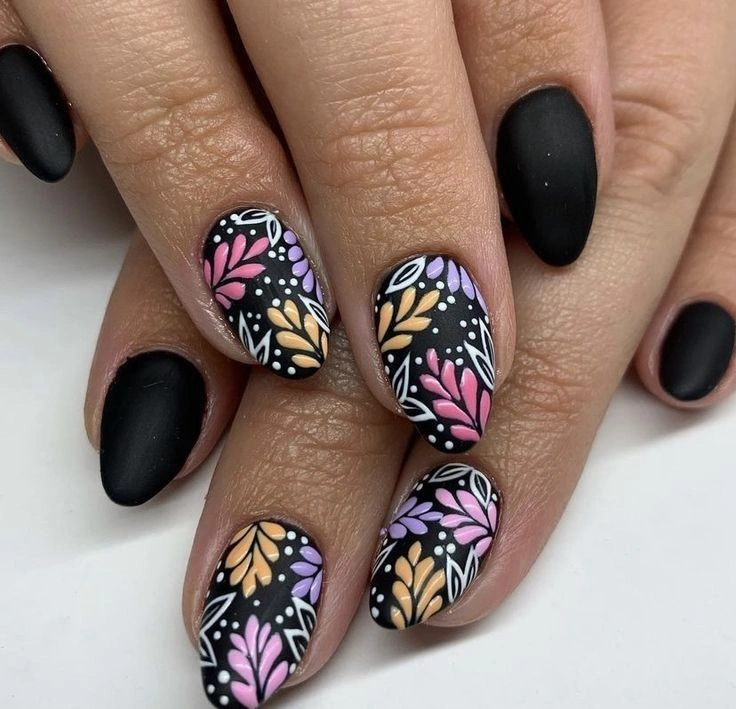
What Is Stamping Nail Art?
Stamping nail art is a technique that allows you to transfer beautiful designs onto your nails using engraved metal plates and a silicone stamper.
Instead of drawing tiny patterns by hand, you choose a design from a stamping plate, apply nail polish, and transfer the pattern directly onto your nail.
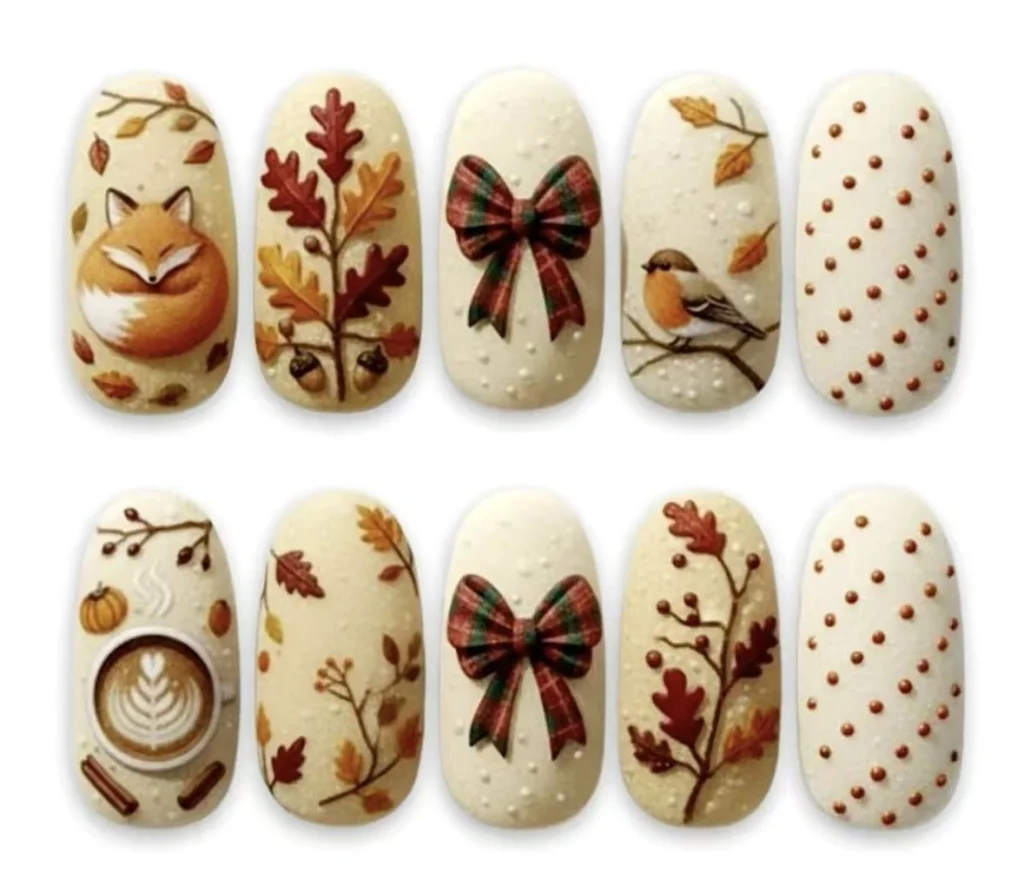
Sounds simple, right?
You can create flowers, butterflies, stars, animal prints, lace patterns, and many other designs without needing excellent drawing skills.
It’s a great option for beginners who want to experiment with nail art without feeling overwhelmed.
Why Is Stamping Nail Art Worth Trying?
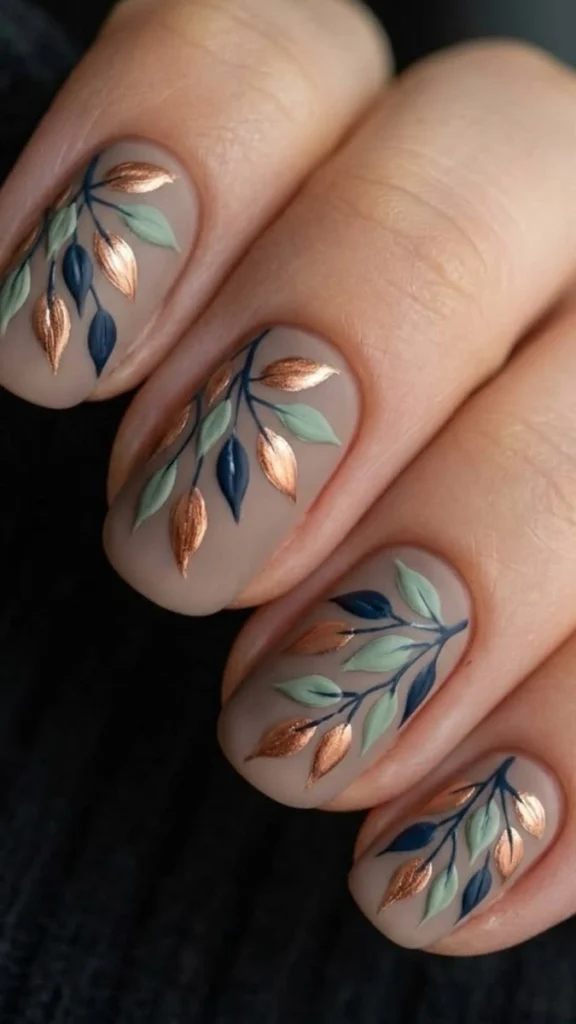
There are plenty of reasons to fall in love with nail stamping.
It’s beginner-friendly. You don’t need professional training to get started. Once you understand the basic technique, creating detailed patterns becomes easier.

It saves time. Hand-painting tiny flowers or geometric patterns can take forever. Stamping helps you create similar designs much faster.
It’s budget-friendly. After purchasing a basic stamping kit, you can experiment with different designs at home without paying for every manicure.
It offers endless creativity. From minimalist everyday nails to bold party manicures, you can create different looks using the same stamping plates.
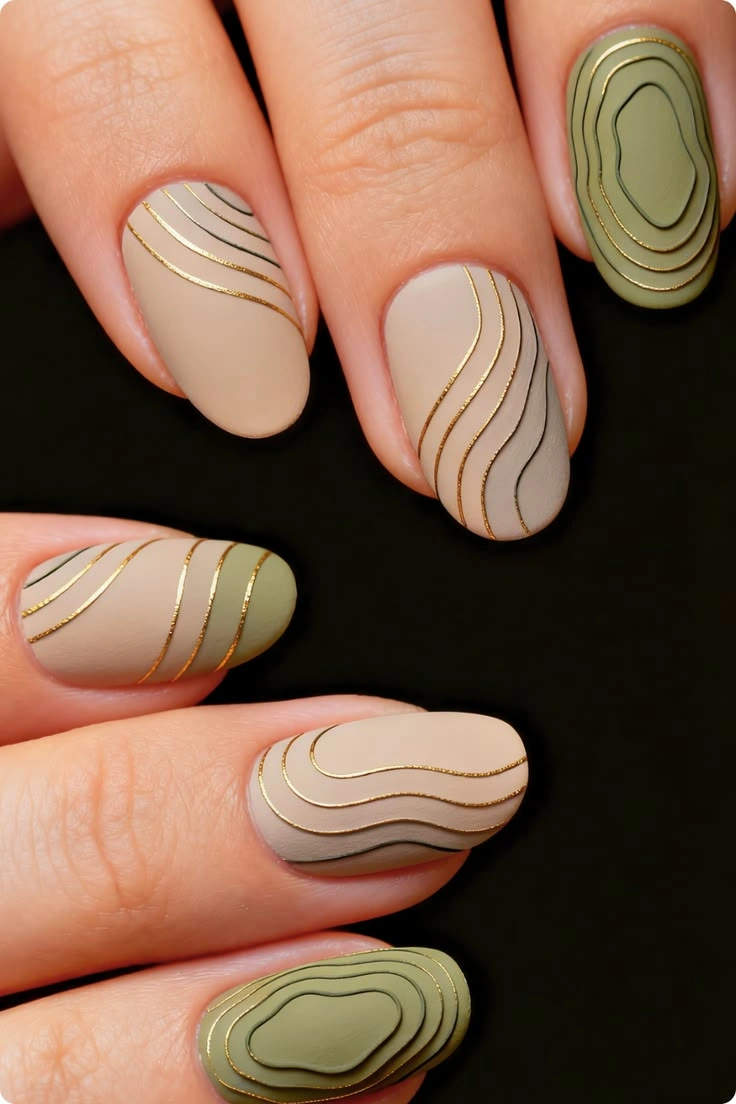
And honestly, there’s something satisfying about seeing a beautiful pattern transfer perfectly onto your nails!
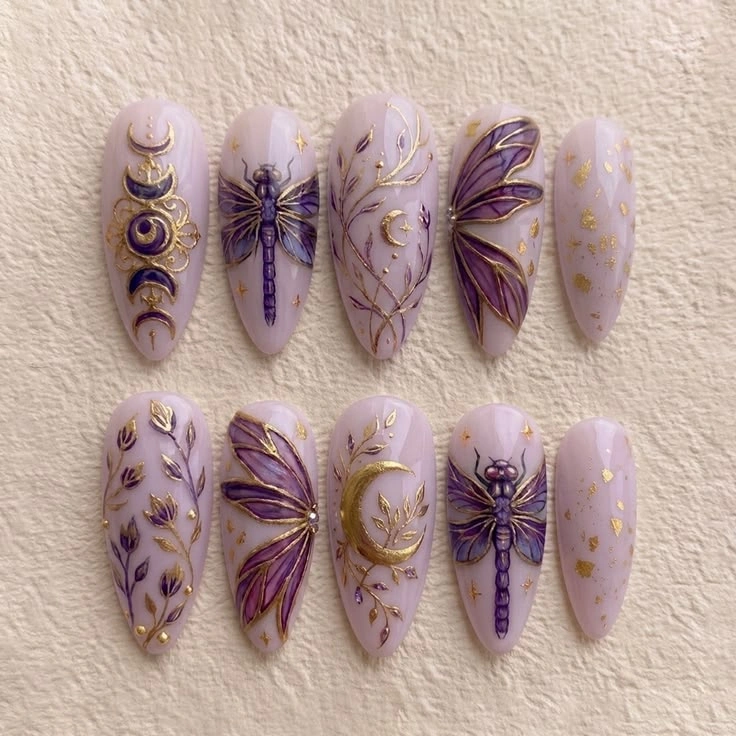
Essential Tools You Need for Stamping Nail Art
Before creating your first design, you’ll need a few basic supplies.
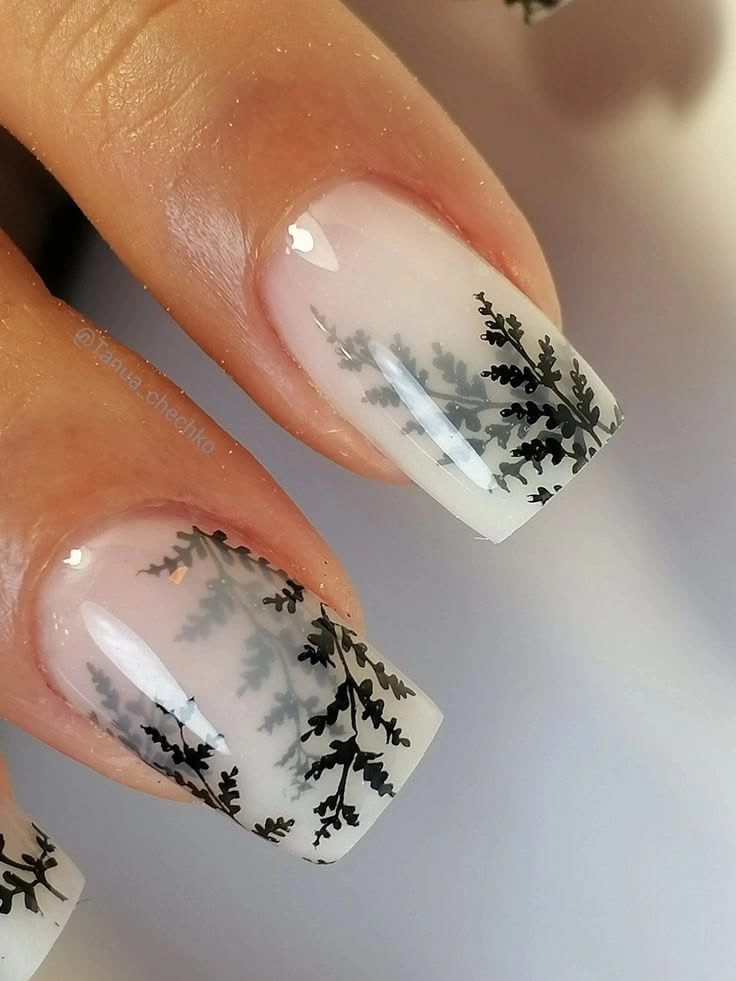
- Stamping plates: Metal plates featuring engraved designs such as flowers, hearts, leaves, and geometric patterns.
- Silicone stamper: A soft tool that picks up the design from the plate and transfers it onto your nail.
- Stamping polish: Highly pigmented nail polish designed to work with stamping plates.
- Scraper card: Helps remove excess polish from the plate.
- Base coat: Protects your natural nails and helps your manicure last longer.
- Top coat: Seals your finished design and adds shine.
- Cleaning supplies: Suitable nail polish remover, lint-free wipes, and a lint roller for cleaning your tools.
If you’re just starting, choose a simple stamping kit with a clear stamper. Being able to see through the stamper makes positioning your designs much easier.
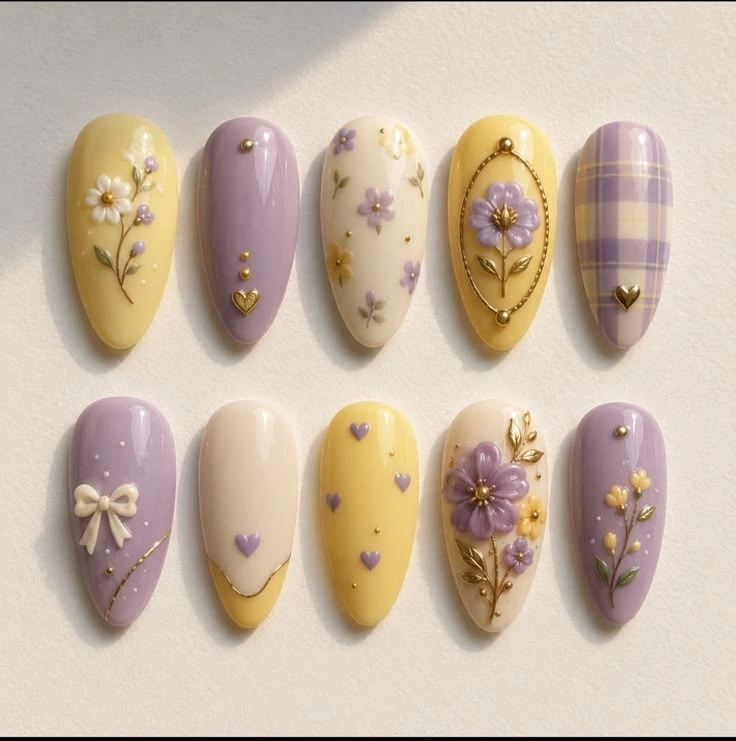
How to Do Stamping Nail Art at Home: Step-by-Step Guide
Ready to give nail stamping a try? Follow these easy steps.
Step 1: Prepare Your Nails
Start with clean, dry nails. Remove any old polish, gently shape your nails, and push back your cuticles if needed.
Apply a thin layer of base coat and let it dry.
Healthy, properly prepared nails provide a smoother surface for your manicure.
Step 2: Apply Your Favorite Base Color
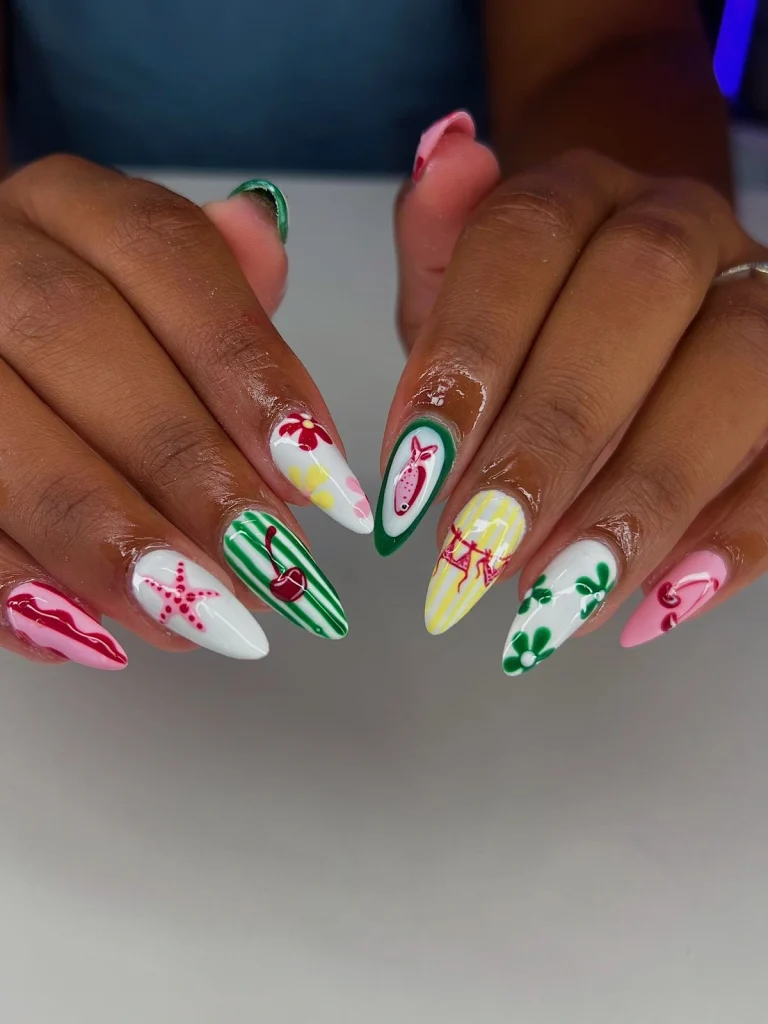
Choose a nail polish color that complements your stamping design.
For beginners, light shades like nude, baby pink, cream, or pastel blue work beautifully with black stamping polish.
Apply one or two thin coats and allow them to dry completely.
Step 3: Choose Your Stamping Design
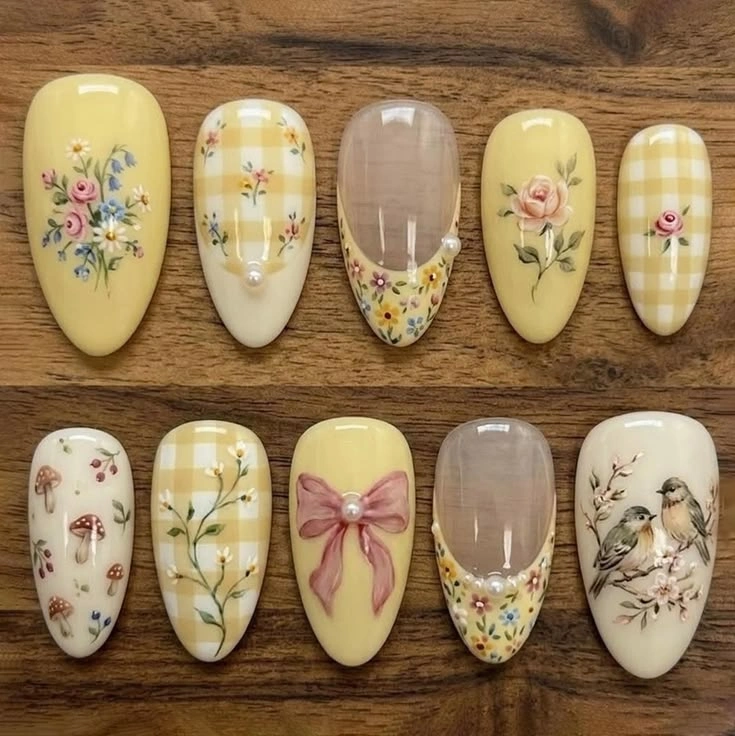
Pick a design from your stamping plate.
If you’re new to stamping nail art, start with simple flowers, stars, or small hearts instead of complicated full-nail patterns.
These are easier to position and more forgiving if your placement isn’t perfect.
Step 4: Apply Stamping Polish
Add a small amount of stamping polish over your chosen engraved design.
Use the scraper card to gently remove the excess polish, leaving color inside the pattern.
Work quickly because stamping polish can dry fast.
Step 5: Pick Up the Design
Gently roll or press your silicone stamper over the design.
The pattern should transfer onto the stamper.
If the design doesn’t transfer properly, try adjusting your pressure or working a little faster.
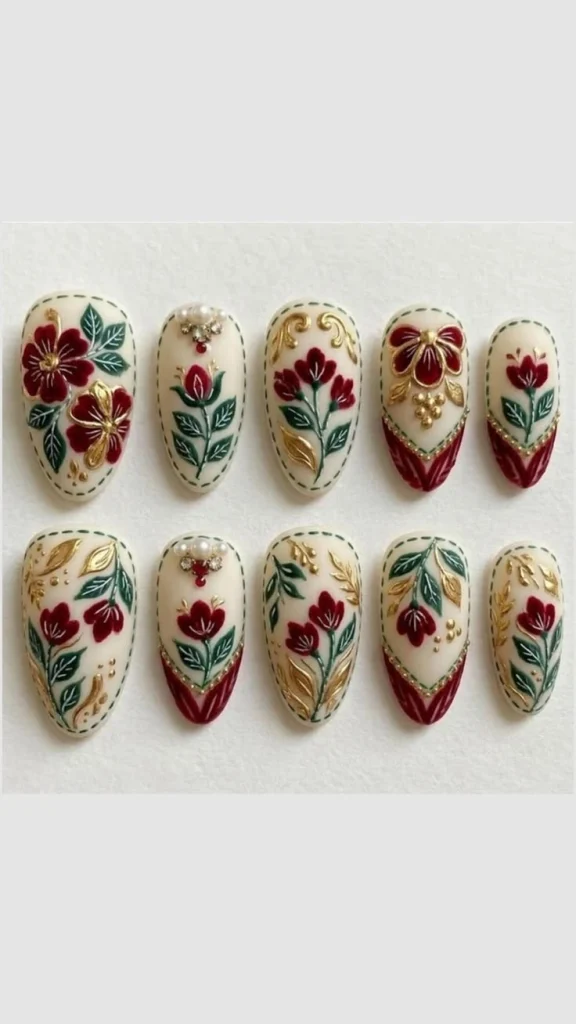
Step 6: Transfer the Design Onto Your Nail
Carefully position the stamper over your nail and gently press or roll the design onto the surface.
Don’t worry if your first attempt isn’t perfect. Nail stamping takes a little practice!
Step 7: Finish With a Top Coat
Once your stamped design is completely dry, apply a top coat to protect your artwork.
Use a light touch and avoid repeatedly brushing over the same area, as this can smear the pattern.
And that’s it! You’ve created your own stamped manicure.
7 Cute Stamping Nail Art Ideas You’ll Love
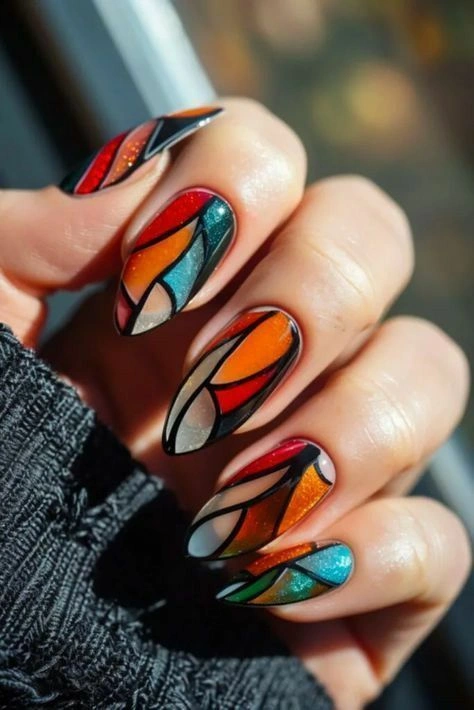
Looking for inspiration? Here are some beautiful designs that work for different moods, outfits, and occasions.
1. Delicate Floral Nails
Tiny flowers over a nude or pastel base create a soft, feminine manicure.
Try white daisies over baby pink polish for a fresh spring-inspired look.
2. Minimalist Heart Nails
Small hearts are perfect for anyone who loves simple yet adorable nail designs.
Use red or pink hearts over a milky white base for a romantic manicure that works beyond Valentine’s Day.
3. Elegant French Tip Stamping
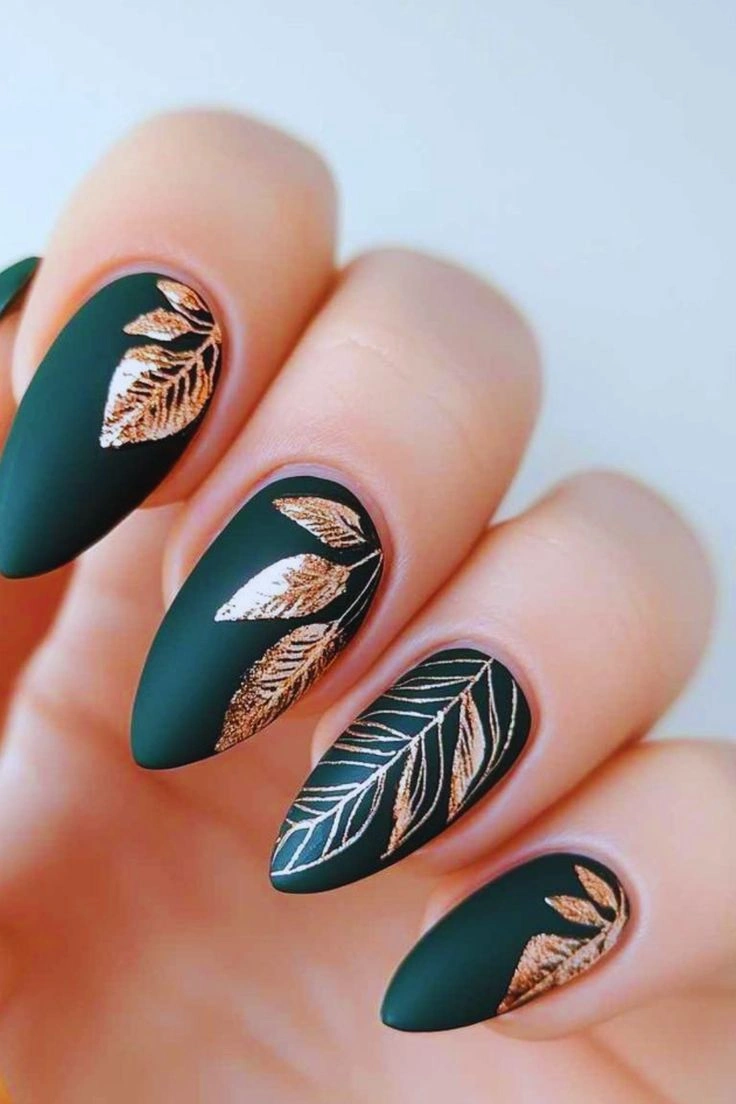
Give your classic French manicure a creative twist by adding tiny floral or lace patterns near the tips.
This style looks polished without being too dramatic.
4. Trendy Leopard Print Nails
Animal prints are a fun choice when you want something bold.
Try brown leopard spots over a beige base for a stylish, wearable design.
5. Cute Butterfly Nail Art
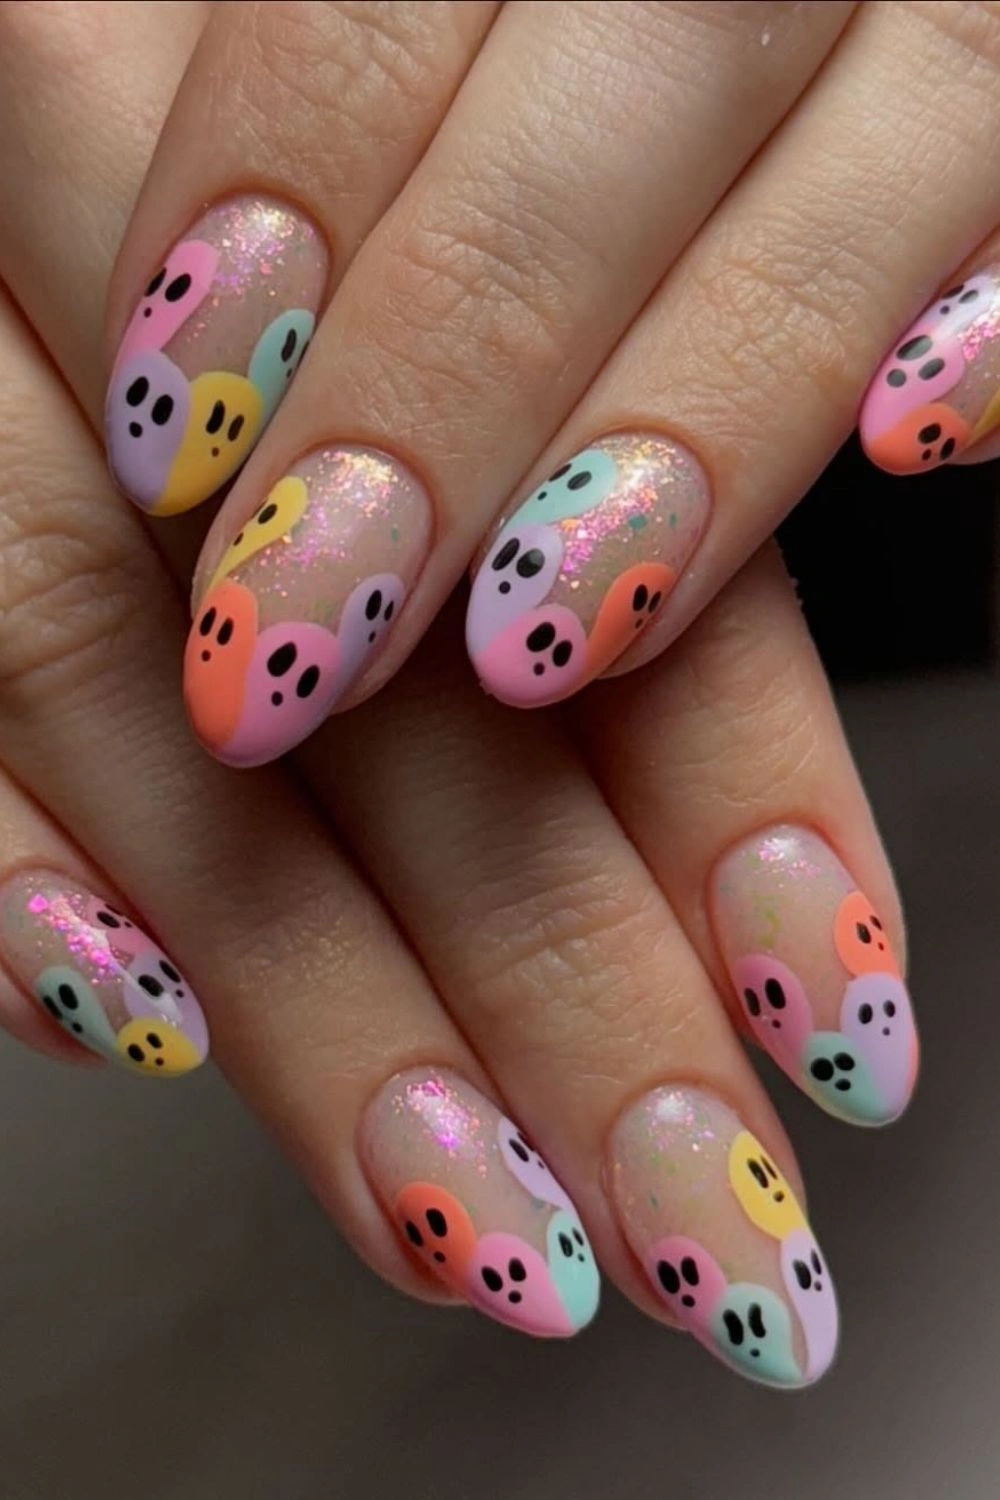
Butterfly patterns look beautiful with lavender, light blue, and other pastel shades.
Add a butterfly to one or two accent nails for a dreamy manicure.
6. Modern Geometric Patterns
Love clean, contemporary nail designs?
Try thin lines, abstract shapes, or geometric patterns over neutral nail polish.
Black and white combinations create a particularly striking look.
7. Sparkly Star Nails
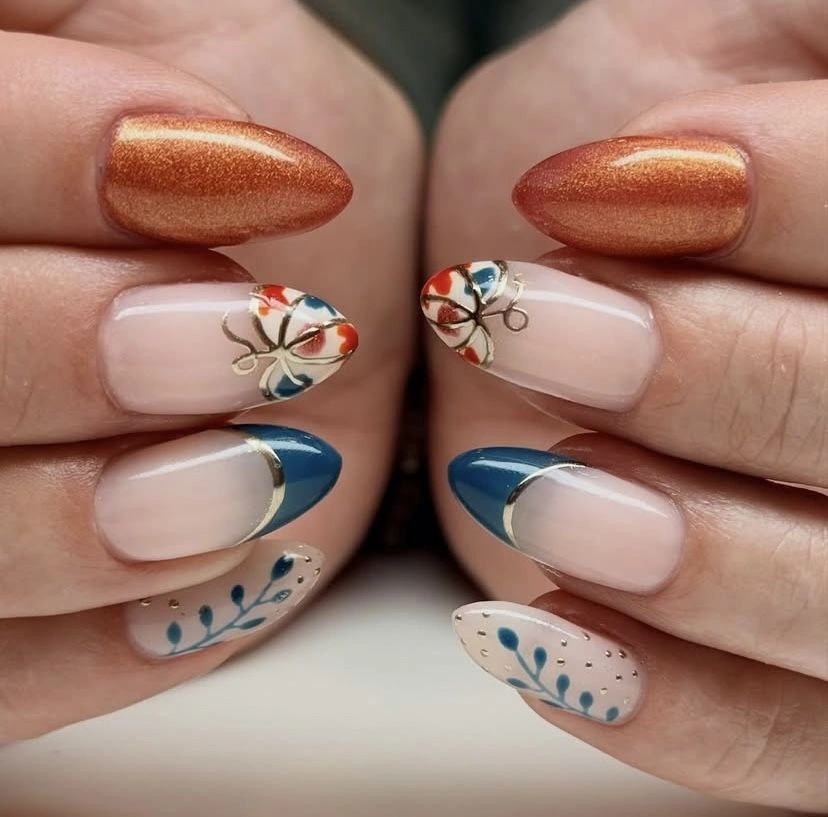
Tiny stars stamped over navy blue, black, or sheer pink polish create a playful manicure.
Add a little shimmer for a beautiful nighttime-inspired design.
Common Nail Stamping Mistakes to Avoid
Even though stamping nail art is beginner-friendly, a few mistakes can affect your results.
Using regular polish that dries too quickly: Some regular polishes don’t transfer well. Dedicated stamping polish is usually easier for beginners.
Applying too much pressure: Pressing the stamper too hard can distort the design. A gentle touch often works better.
Waiting too long: The polish may dry on the stamping plate before you pick it up. Try working smoothly and quickly.
Skipping tool cleaning: Leftover polish can affect future transfers. Clean your stamping plate between designs.
Applying top coat too early: Let your stamped pattern dry before sealing it to reduce smudging.
Remember, even experienced nail artists sometimes need a second attempt.
How to Make Your Stamping Nail Art Last Longer
Want your beautiful manicure to stay fresh for days?
Start with clean nails and use a good-quality base coat. Apply thin layers of polish rather than thick coats, and let each layer dry properly.
Seal your design with a suitable top coat, including the free edge of your nails.
Try wearing gloves while washing dishes or cleaning, as repeated exposure to water and household chemicals can shorten the life of your manicure.
You can also apply cuticle oil regularly to keep the skin around your nails looking healthy.
Final Thoughts
Stamping nail art proves that you don’t need professional painting skills to create beautiful nails.
From delicate flowers and cute hearts to bold animal prints and modern patterns, there are so many ways to experiment with this technique.
