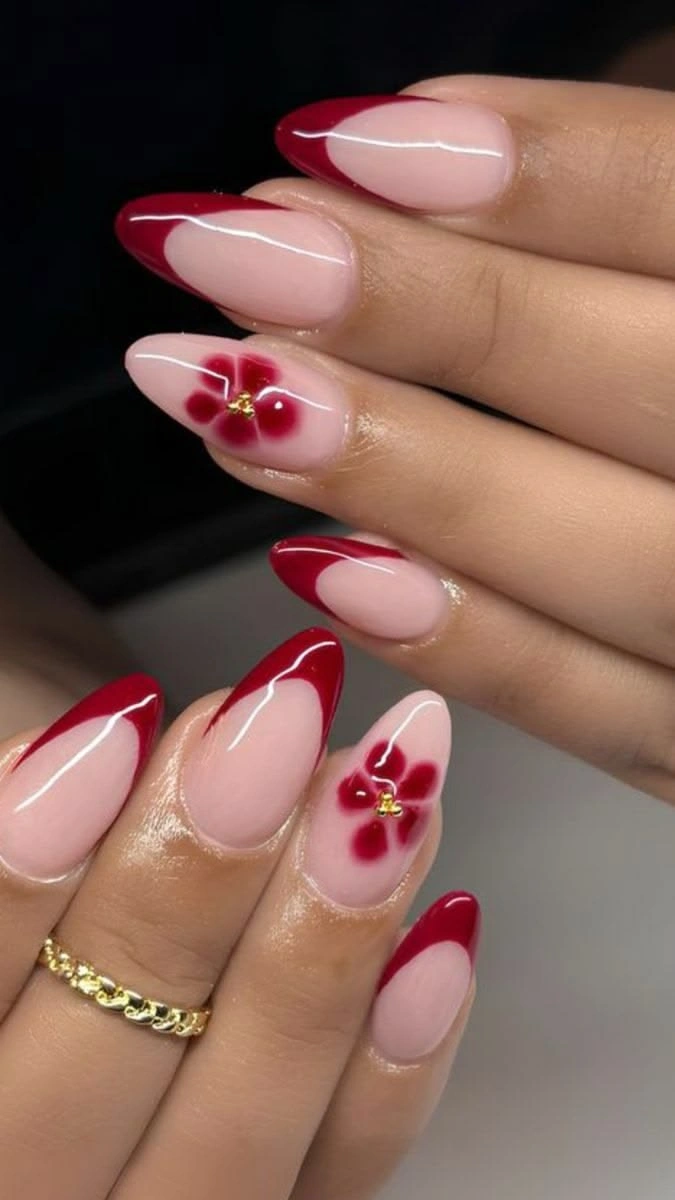
Nail art for beginners is a fun and creative way to make your nails look beautiful without visiting a salon. Whether you love simple nail designs or want to try trendy styles at home, you can create stunning nail art with a few basic tools and a little practice.
You don’t need to be a professional nail artist to get started. From cute dots and simple lines to French tips and floral designs, there are plenty of easy nail art ideas that beginners can try.
In this guide, we’ll explore the best nail art designs for beginners, the tools you need, and helpful tips to make your manicure look neat and stylish.
What Is Nail Art?
Nail art is the practice of decorating your fingernails or toenails using nail polish, colors, stickers, glitter, stones, and creative patterns. It can be simple or detailed, depending on your skill level and personal style.
For beginners, starting with easy designs is the best way to build confidence and improve your nail painting skills.
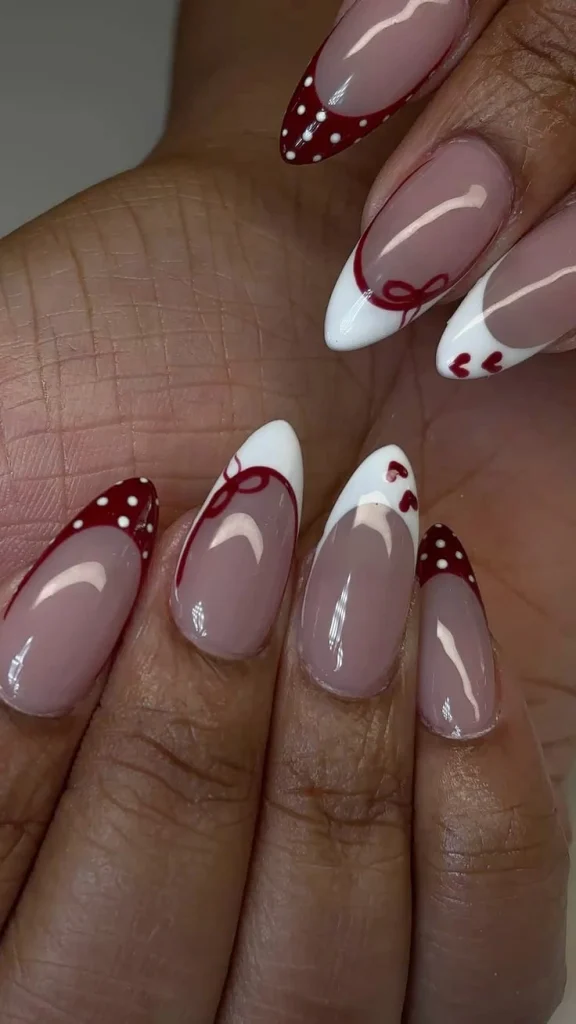
Essential Nail Art Tools for Beginners
Before creating your first nail design, collect a few basic nail art supplies. You don’t need an expensive kit to get started.
1. Base Coat
A base coat helps create a smooth surface for nail polish and can help reduce staining from some nail colors.
2. Nail Polish
Choose a few colors that you love. White, pink, nude, red, black, and pastel shades are great for creating beginner-friendly designs.
3. Dotting Tool
A dotting tool makes it easier to create dots, flowers, and cute patterns. A bobby pin or the rounded end of a small tool can work as a simple alternative.
4. Thin Nail Art Brush
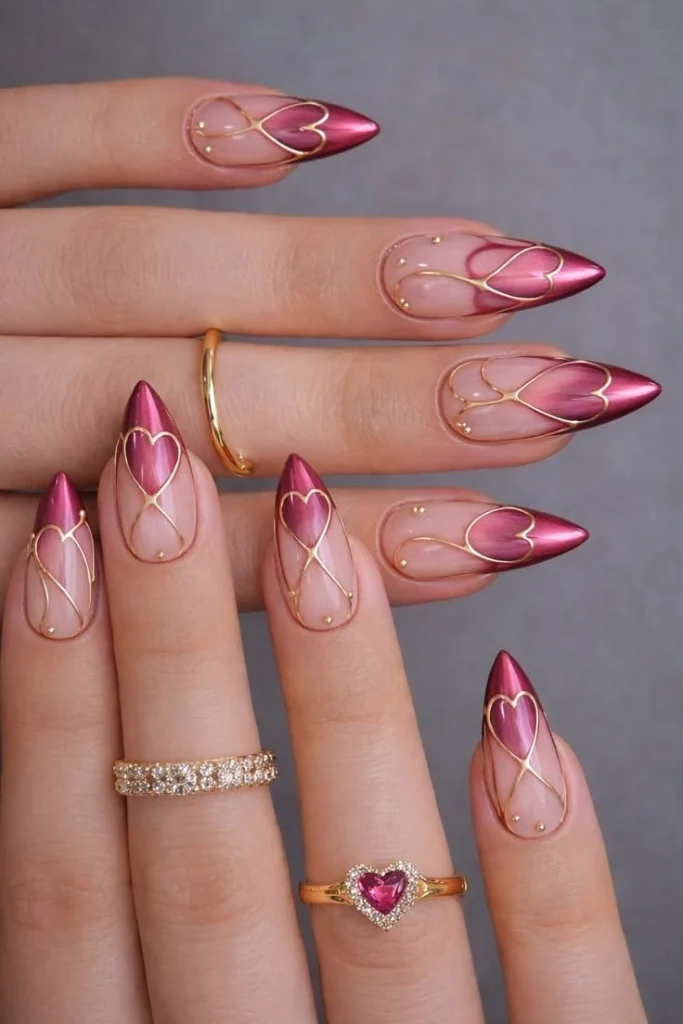
A fine brush is useful for drawing lines, small details, and simple shapes.
5. Top Coat
A top coat adds shine and helps protect your finished design from everyday wear.
6. Nail File and Cuticle Care Products
A nail file helps shape your nails, while gentle cuticle care keeps your manicure looking neat.
Beginner tip: Start with a small collection of tools instead of buying everything at once.
Easy Nail Art Designs for Beginners
Here are some simple nail art ideas that you can try at home. These designs are beginner-friendly and work well on short or long nails.
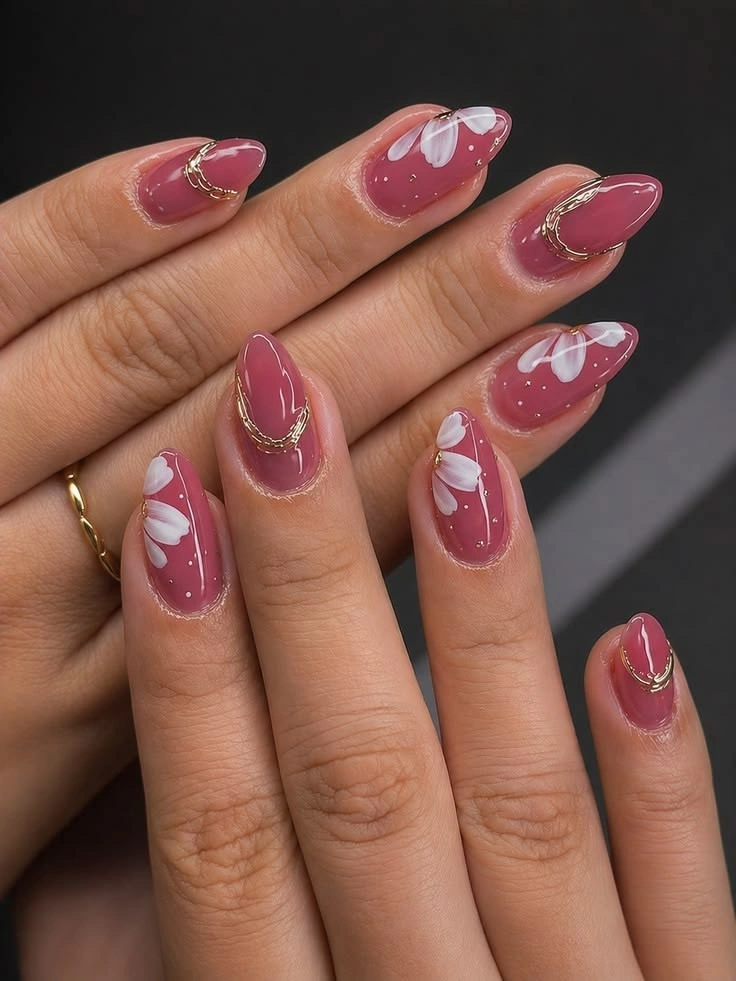
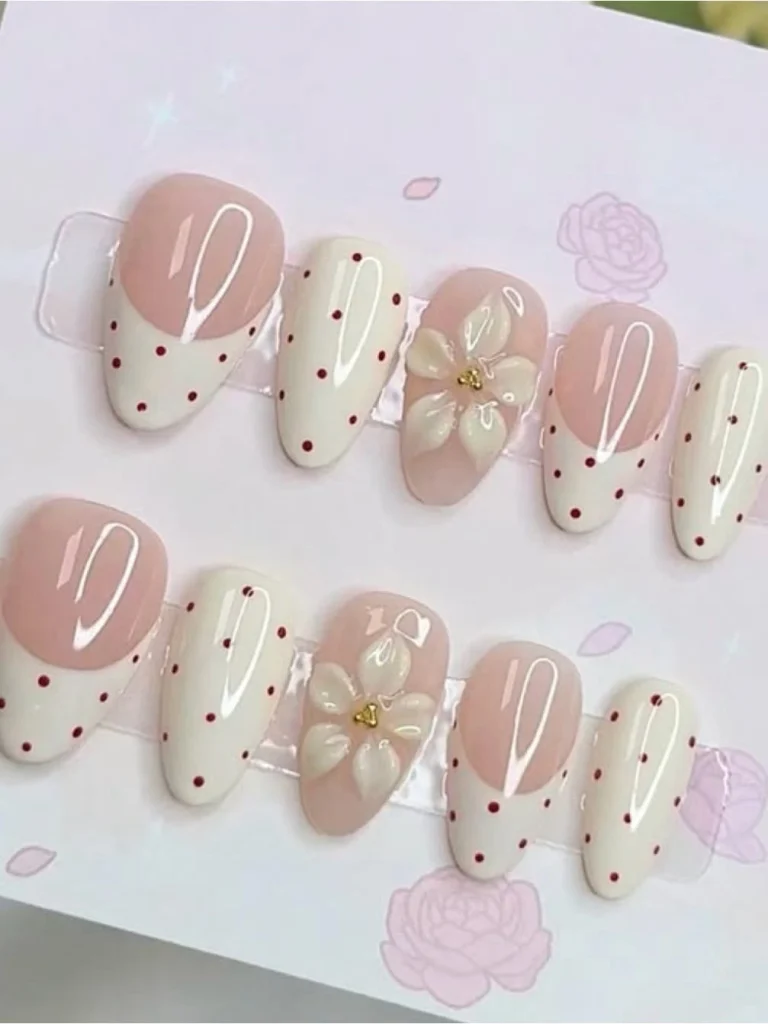
1. Simple Dot Nail Art
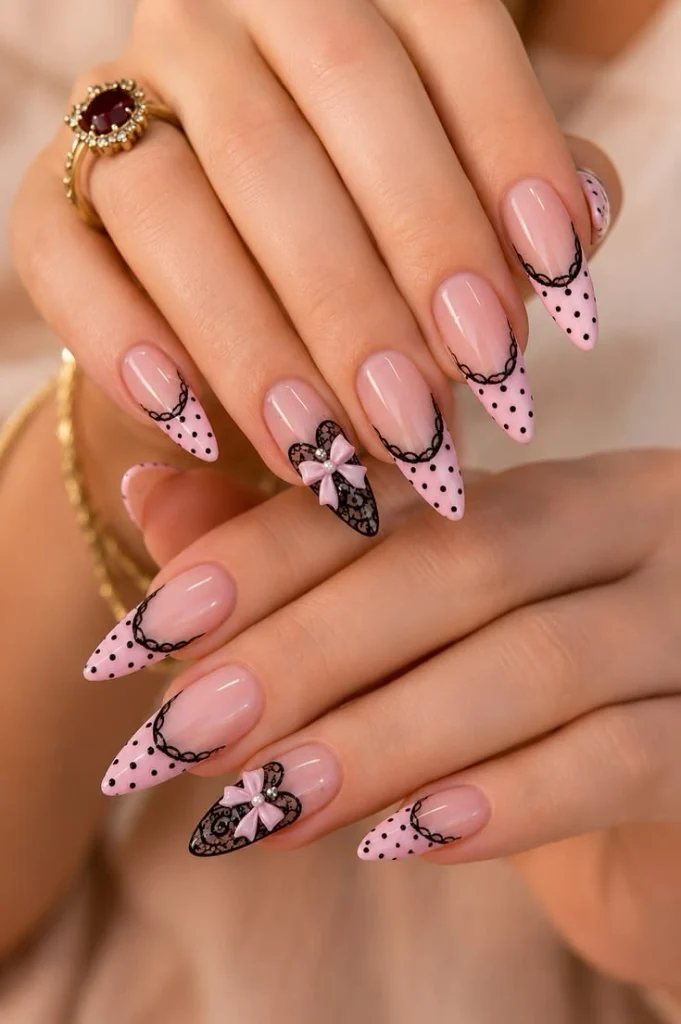
Dot nail art is one of the easiest designs to try when you’re new to nail painting.
How to create it:
- Apply a base coat to clean nails.
- Paint your nails with a color of your choice.
- Let the polish dry slightly.
- Use a dotting tool to add small dots in a contrasting color.
- Finish with a top coat.
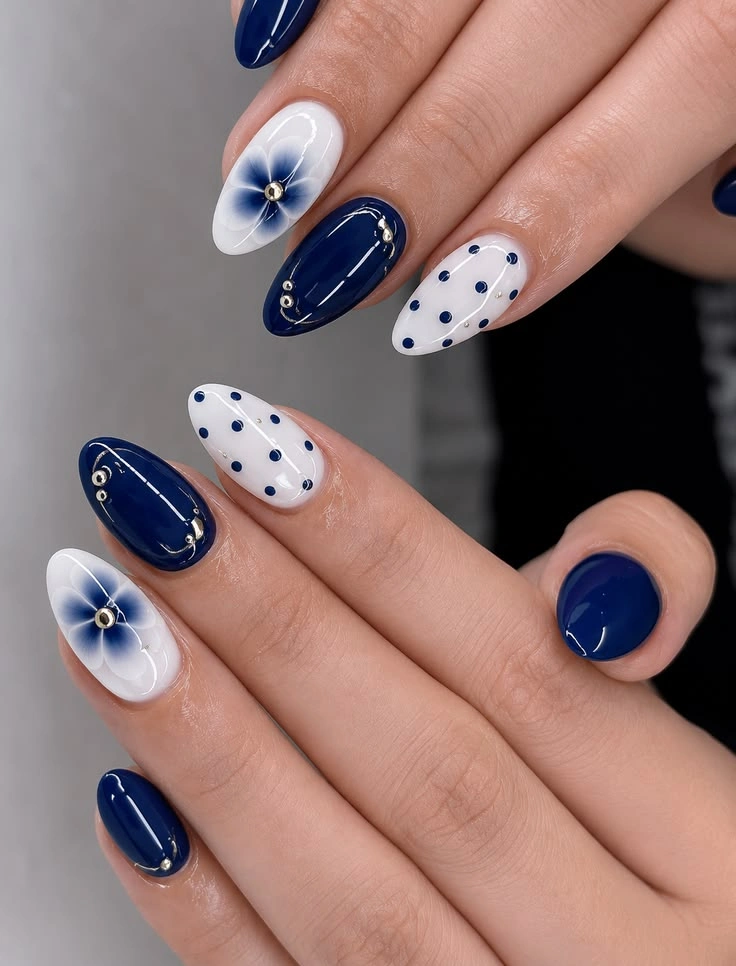
You can create single dots, polka dots, or flower-like patterns using different colors.
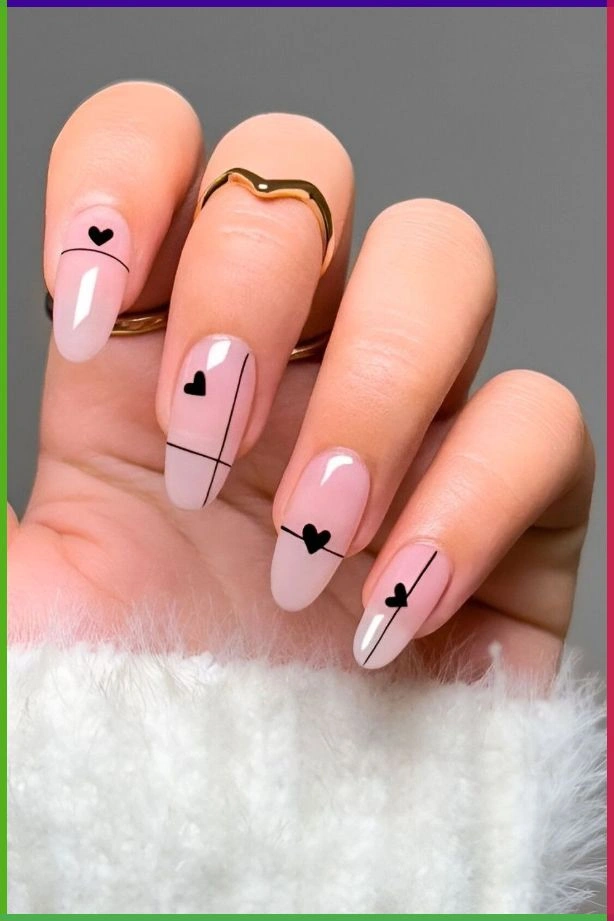
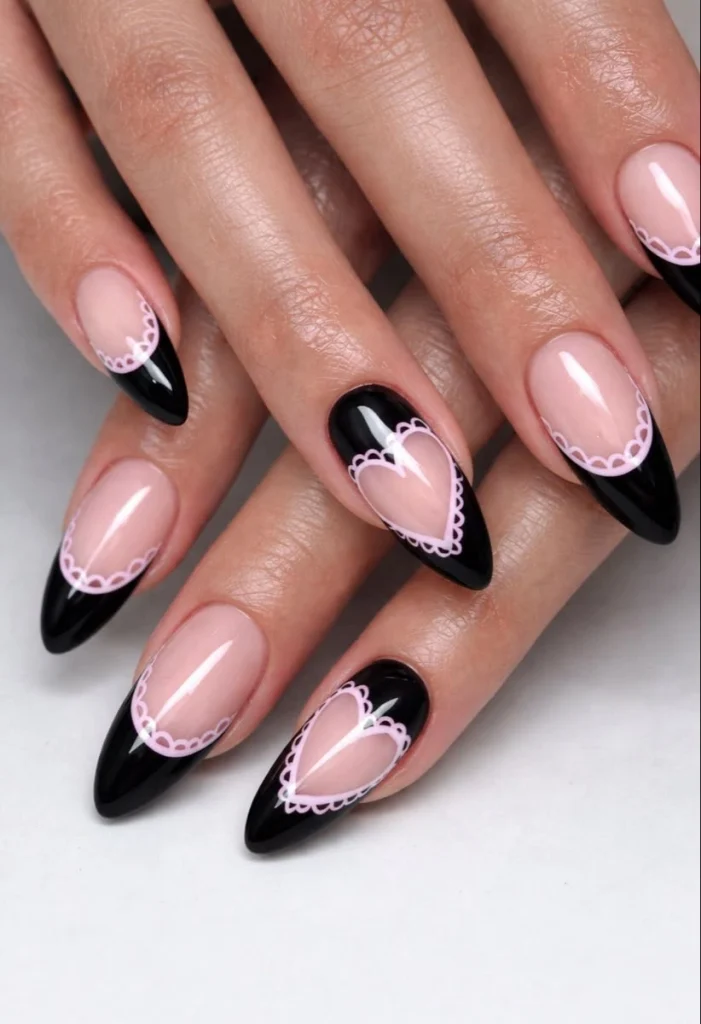
2. Easy French Tip Nails
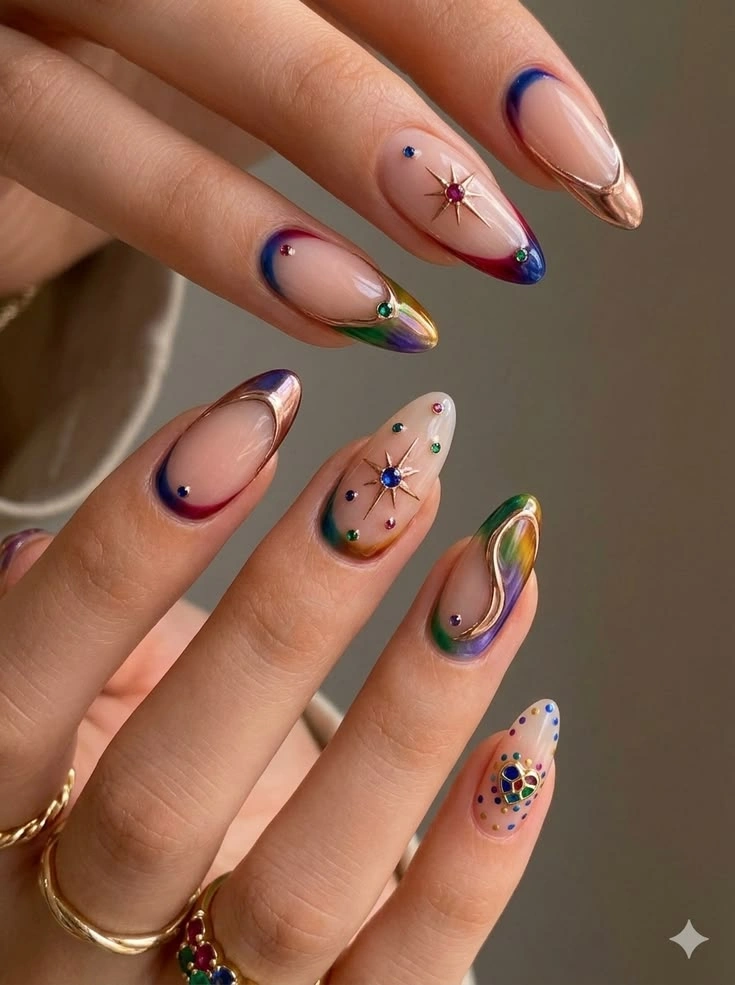
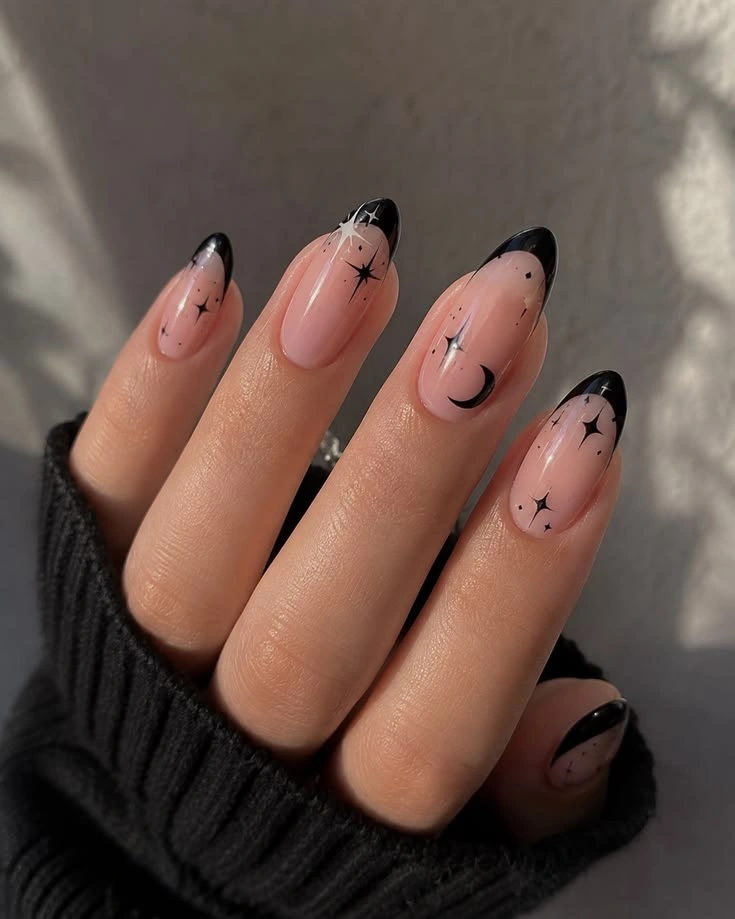
French tips are a timeless nail design that looks clean and elegant. Beginners can start with a simple white tip or experiment with colorful French tips.
Steps:
- Apply a nude or light pink base color.
- Allow it to dry.
- Paint a thin white line across the tip of each nail.
- Clean up the edges with a small brush if needed.
- Apply a top coat.
Helpful trick: Use French tip stickers or nail guides to make the tips more even.
3. Cute Floral Nail Art
Floral nail art is perfect for anyone who loves soft, feminine, and colorful designs.
How to make a simple flower:
- Apply a base color such as white, nude, or pastel pink.
- Add five small dots in a circle using a dotting tool.
- Place a contrasting dot in the center.
- Let the design dry.
- Seal it with a top coat.
Try daisy flowers, tiny floral patterns, or one accent nail for a simple look.
4. Ombre Nail Art
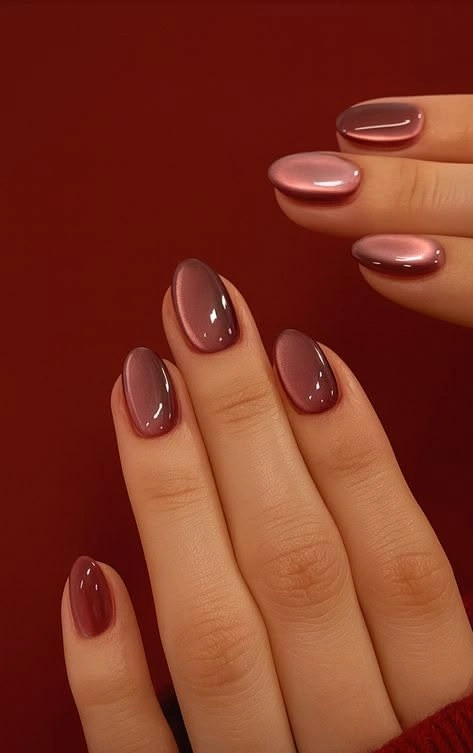
Ombre nails create a soft gradient effect by blending two or more colors. This design looks stylish and works beautifully with pastel shades.
Beginner method:
- Apply a light base color.
- Use a makeup sponge to dab two nail polish shades next to each other.
- Gently press the sponge onto the nail.
- Repeat until the colors blend.
- Clean the skin around the nail and apply a top coat.
Ombre may take a little practice, but the results can be beautiful.
5. Glitter Accent Nails
If you want an easy design that looks glamorous, glitter accent nails are a great choice.
Apply your favorite nail polish and add glitter to one or two nails. You can use glitter polish, loose cosmetic glitter made for nails, or nail glitter products.
This style is perfect for parties, celebrations, and everyday glam.
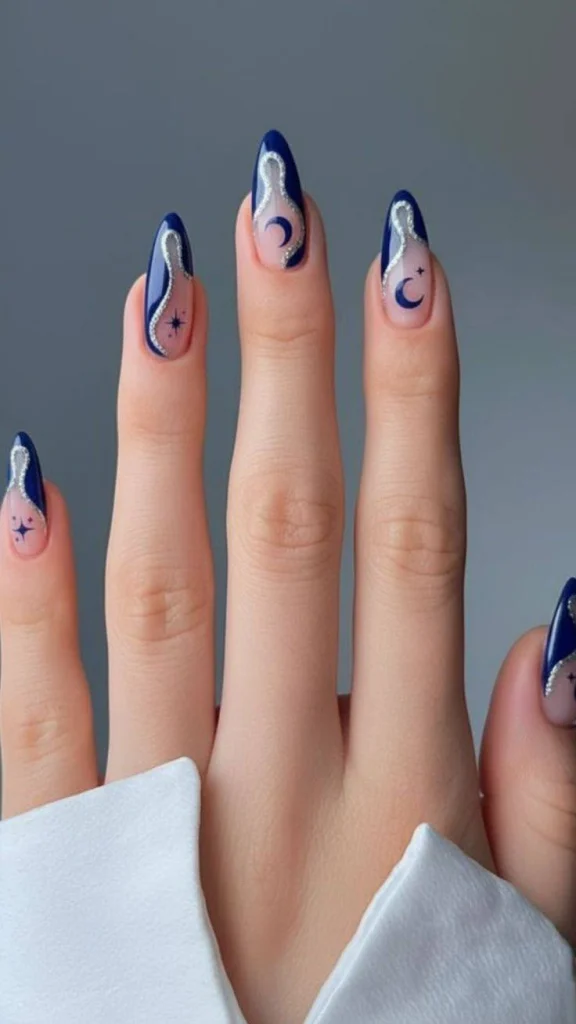
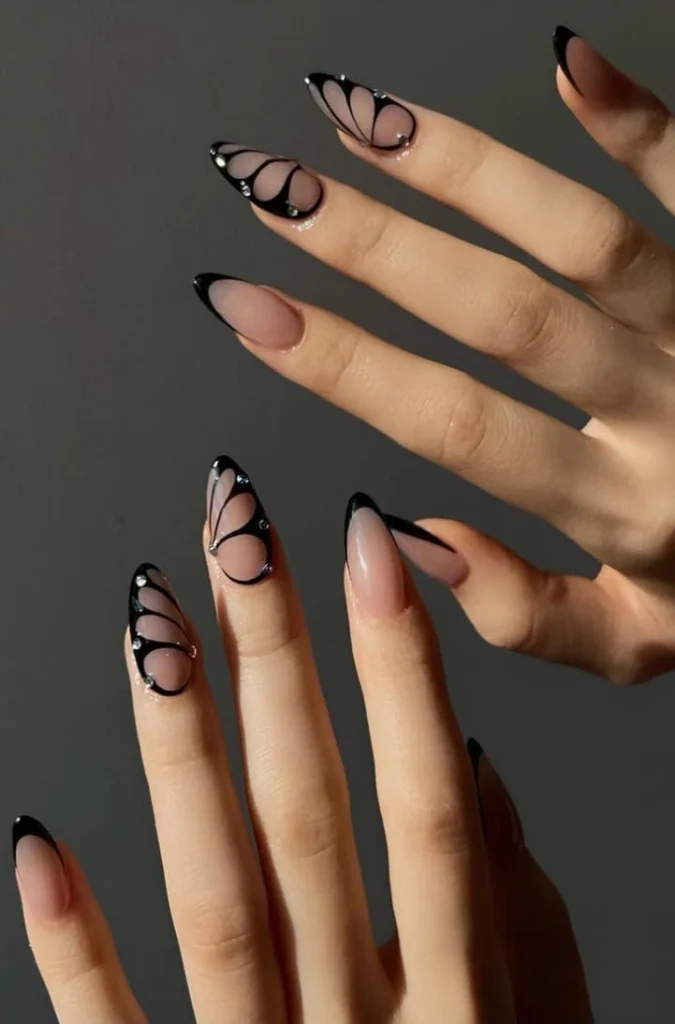
6. Minimal Line Nail Art
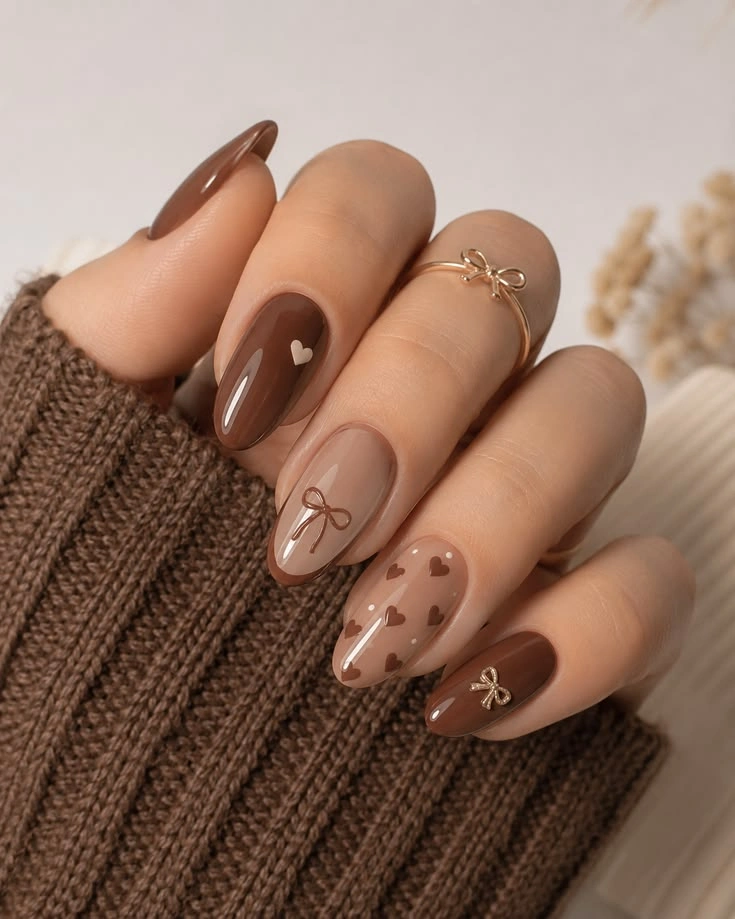
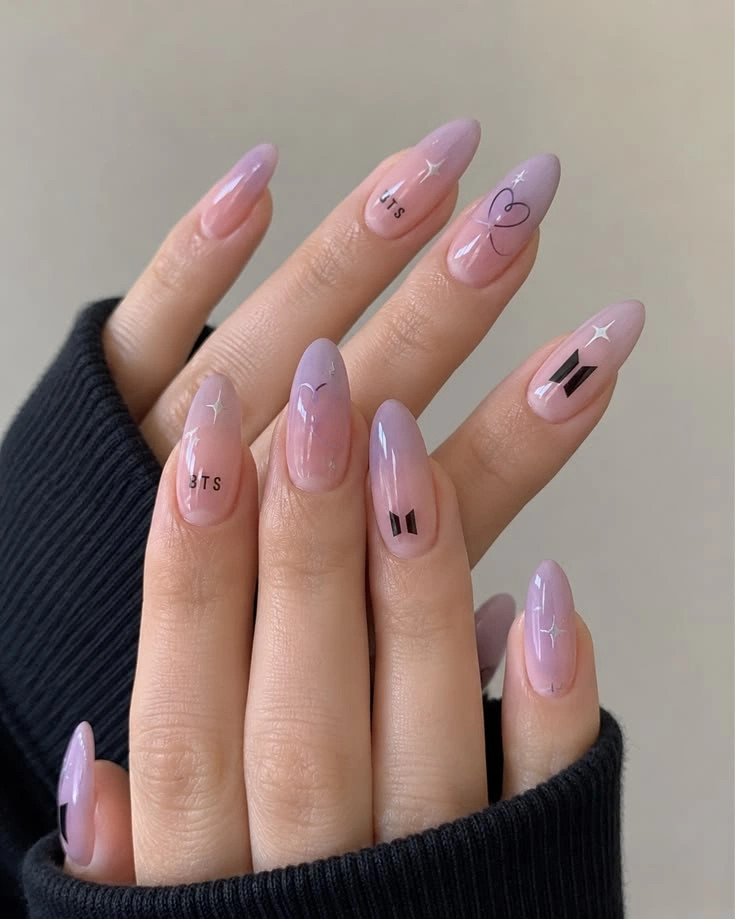
Minimal line art is a modern and simple nail design. It is ideal for beginners who prefer a clean and stylish manicure.
Steps:
- Apply a base color.
- Use a thin nail art brush.
- Draw small lines, curves, or abstract shapes.
- Allow the design to dry.
- Apply a glossy or matte top coat.
You can create different looks using black, white, gold, or pastel lines.
Step-by-Step Nail Art Routine for Beginners
If you’re creating nail art for the first time, follow this easy routine.
Step 1: Clean Your Nails
Remove old nail polish and wash your hands. Make sure your nails are clean and dry.
Step 2: Shape Your Nails
Use a nail file to create your preferred shape. Round, square, and almond shapes are popular options.
Step 3: Apply a Base Coat
A base coat helps your nail polish apply more smoothly.
Step 4: Choose a Simple Design
Start with dots, lines, glitter, or a single accent nail. Avoid complicated designs until you feel comfortable.
Step 5: Let Each Layer Dry
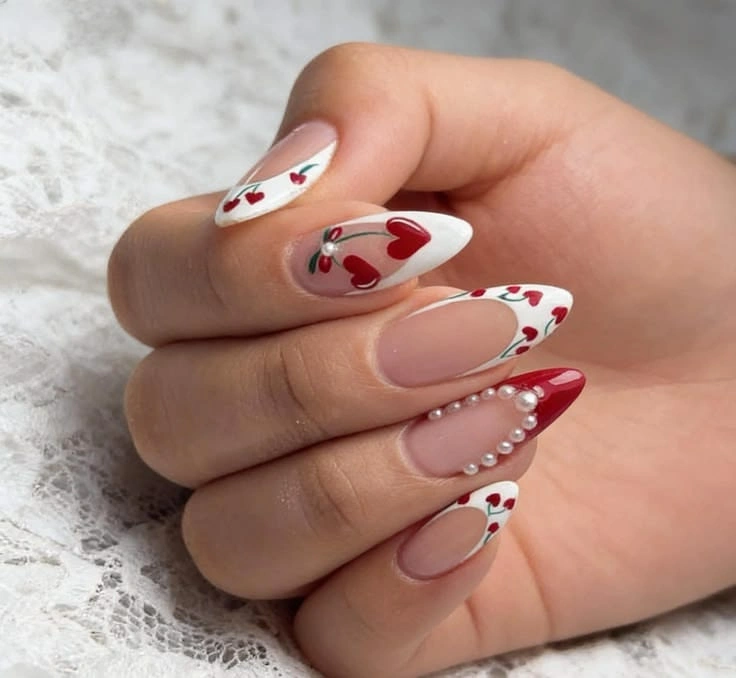
Allow each layer to dry according to the polish instructions. This helps prevent smudging.
Step 6: Finish With a Top Coat
A top coat helps protect your design and gives your nails a polished finish.
Nail Art Tips for Beginners
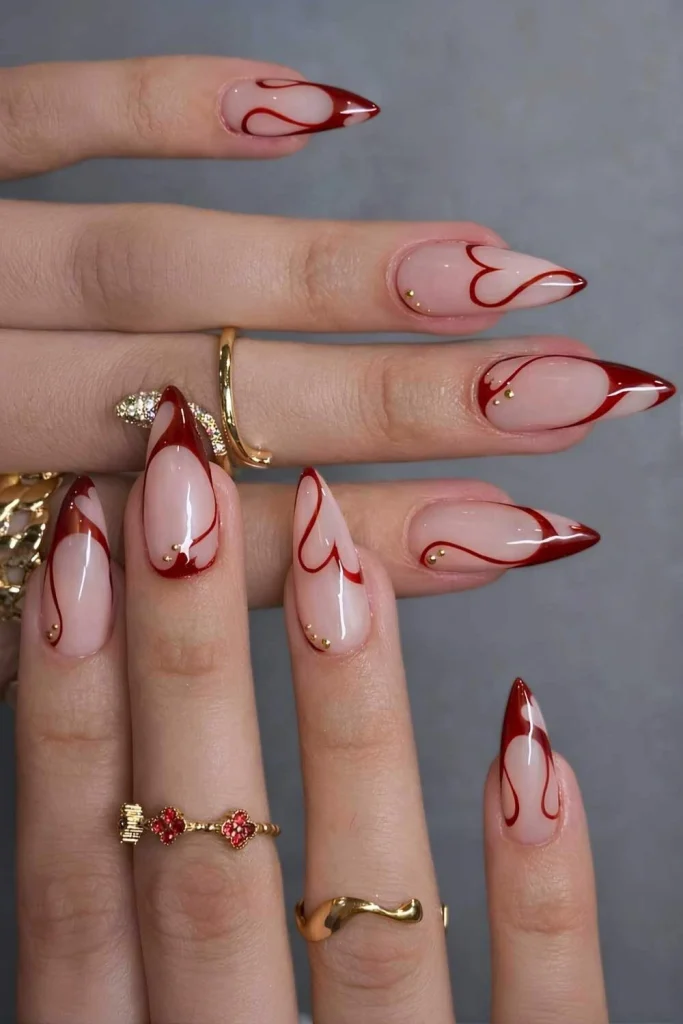
Here are some useful tips to help you improve your nail art skills.
- Start with simple designs: Practice dots, lines, and basic patterns before moving to detailed art.
- Use thin layers: Thin polish layers are usually easier to control and dry more evenly.
- Keep a cleanup brush nearby: A small brush dipped in suitable nail polish remover can help tidy the edges.
- Practice on one nail first: Test your design before applying it to every nail.
- Choose contrasting colors: Contrasting shades make simple designs stand out.
- Don’t rush: Give your polish enough time to dry.
- Use nail stickers: Stickers and guides can make detailed designs easier for beginners.
- Protect your nails: Avoid picking or peeling polish, and moisturize the skin around your nails.
Common Nail Art Mistakes to Avoid
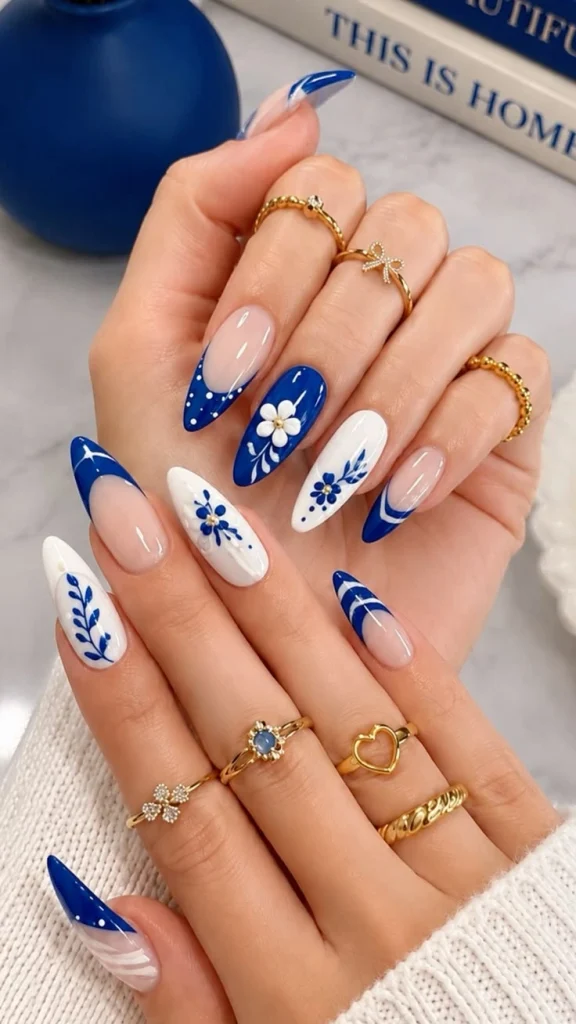
Even simple nail art can become messy if you rush. Here are a few mistakes beginners should avoid:
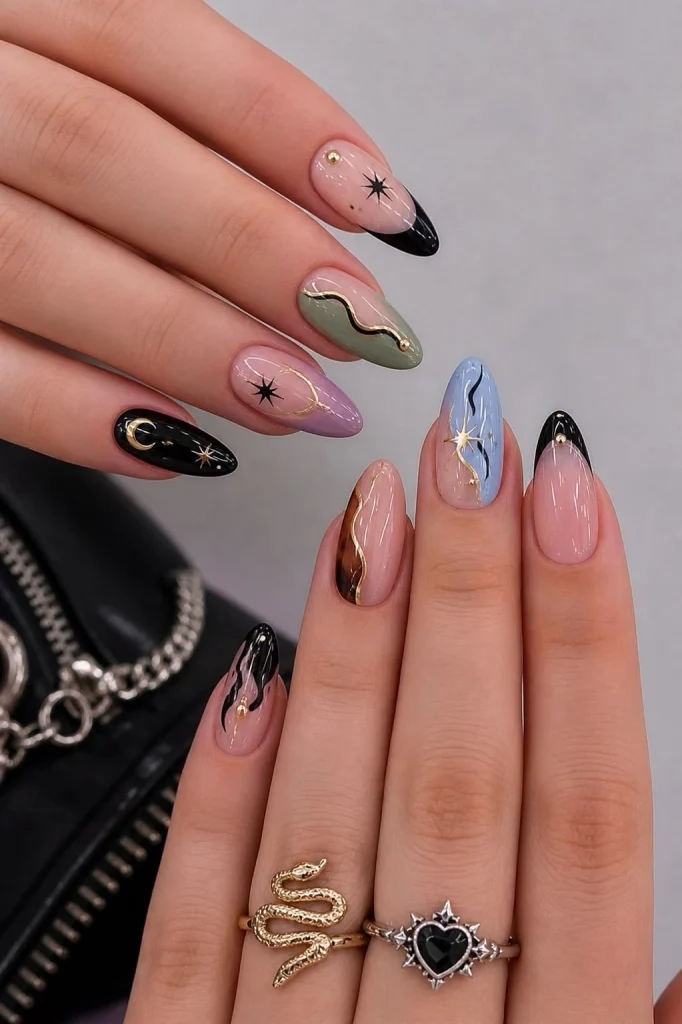
Applying Too Much Polish
Thick layers can take longer to dry and may smudge easily. Use thin layers instead.
Skipping the Base Coat
A base coat can help improve polish application and reduce staining.
Using Too Many Colors
Too many colors can make a beginner design look crowded. Start with two or three shades.
Not Cleaning the Edges
Polish around the cuticles can make your manicure look untidy. Clean the edges carefully.
Touching Wet Nails
Touching your nails before the polish dries can ruin the design. Be patient and let each layer dry.
Best Nail Polish Colors for Beginners
Choosing the right colors can make your nail art journey easier.
| Nail Polish Color | Best For |
|---|---|
| Nude | Minimal and elegant nails |
| White | French tips and floral designs |
| Pink | Cute and feminine nail art |
| Black | Lines, dots, and bold designs |
| Pastel Blue | Soft and trendy looks |
| Red | Classic and glamorous nails |
| Gold Glitter | Party and accent nails |
How to Make Your Nail Art Last Longer
A beautiful manicure looks even better when it stays fresh for longer.
- Apply a top coat after your design has dried sufficiently.
- Avoid prolonged exposure to hot water immediately after painting your nails.
- Wear gloves when cleaning or doing household chores.
- Use cuticle oil or hand moisturizer regularly.
- Touch up chipped areas carefully instead of picking at the polish.
- Remove nail polish gently with a suitable remover.
Frequently Asked Questions About Nail Art for Beginners
Can I do nail art at home without professional tools?
Yes. You can start with regular nail polish, a toothpick or dotting tool, and a top coat. Simple dots, lines, and accent nails are easy to practice at home.
Which nail art design is easiest for beginners?
Dot nail art is one of the easiest designs to start with. French tips using guides and glitter accent nails are also beginner-friendly options.
How long does beginner nail art take?
A simple design may take around 20–40 minutes, depending on the number of layers and drying time. More detailed designs may take longer.
Can beginners do nail art on short nails?
Yes. Short nails are perfect for minimal designs, dots, French tips, and small floral patterns.
How can I improve my nail art skills?
Practice regularly, start with simple patterns, watch tutorials, and experiment with different colors. Over time, you’ll become more comfortable with brushes and nail art tools.
Final Thoughts
Nail art for beginners is all about creativity, patience, and practice. You don’t need perfect skills or expensive products to create beautiful nails. Start with simple designs like dots, French tips, flowers, or glitter accents, and gradually try more advanced styles.
Whether you’re preparing for a special occasion or simply want to enjoy a relaxing beauty routine, DIY nail art is a fun way to express your personality.
